How to Fix DJI Gimbal Motor Overload Error: Complete 2026 Troubleshooting Guide
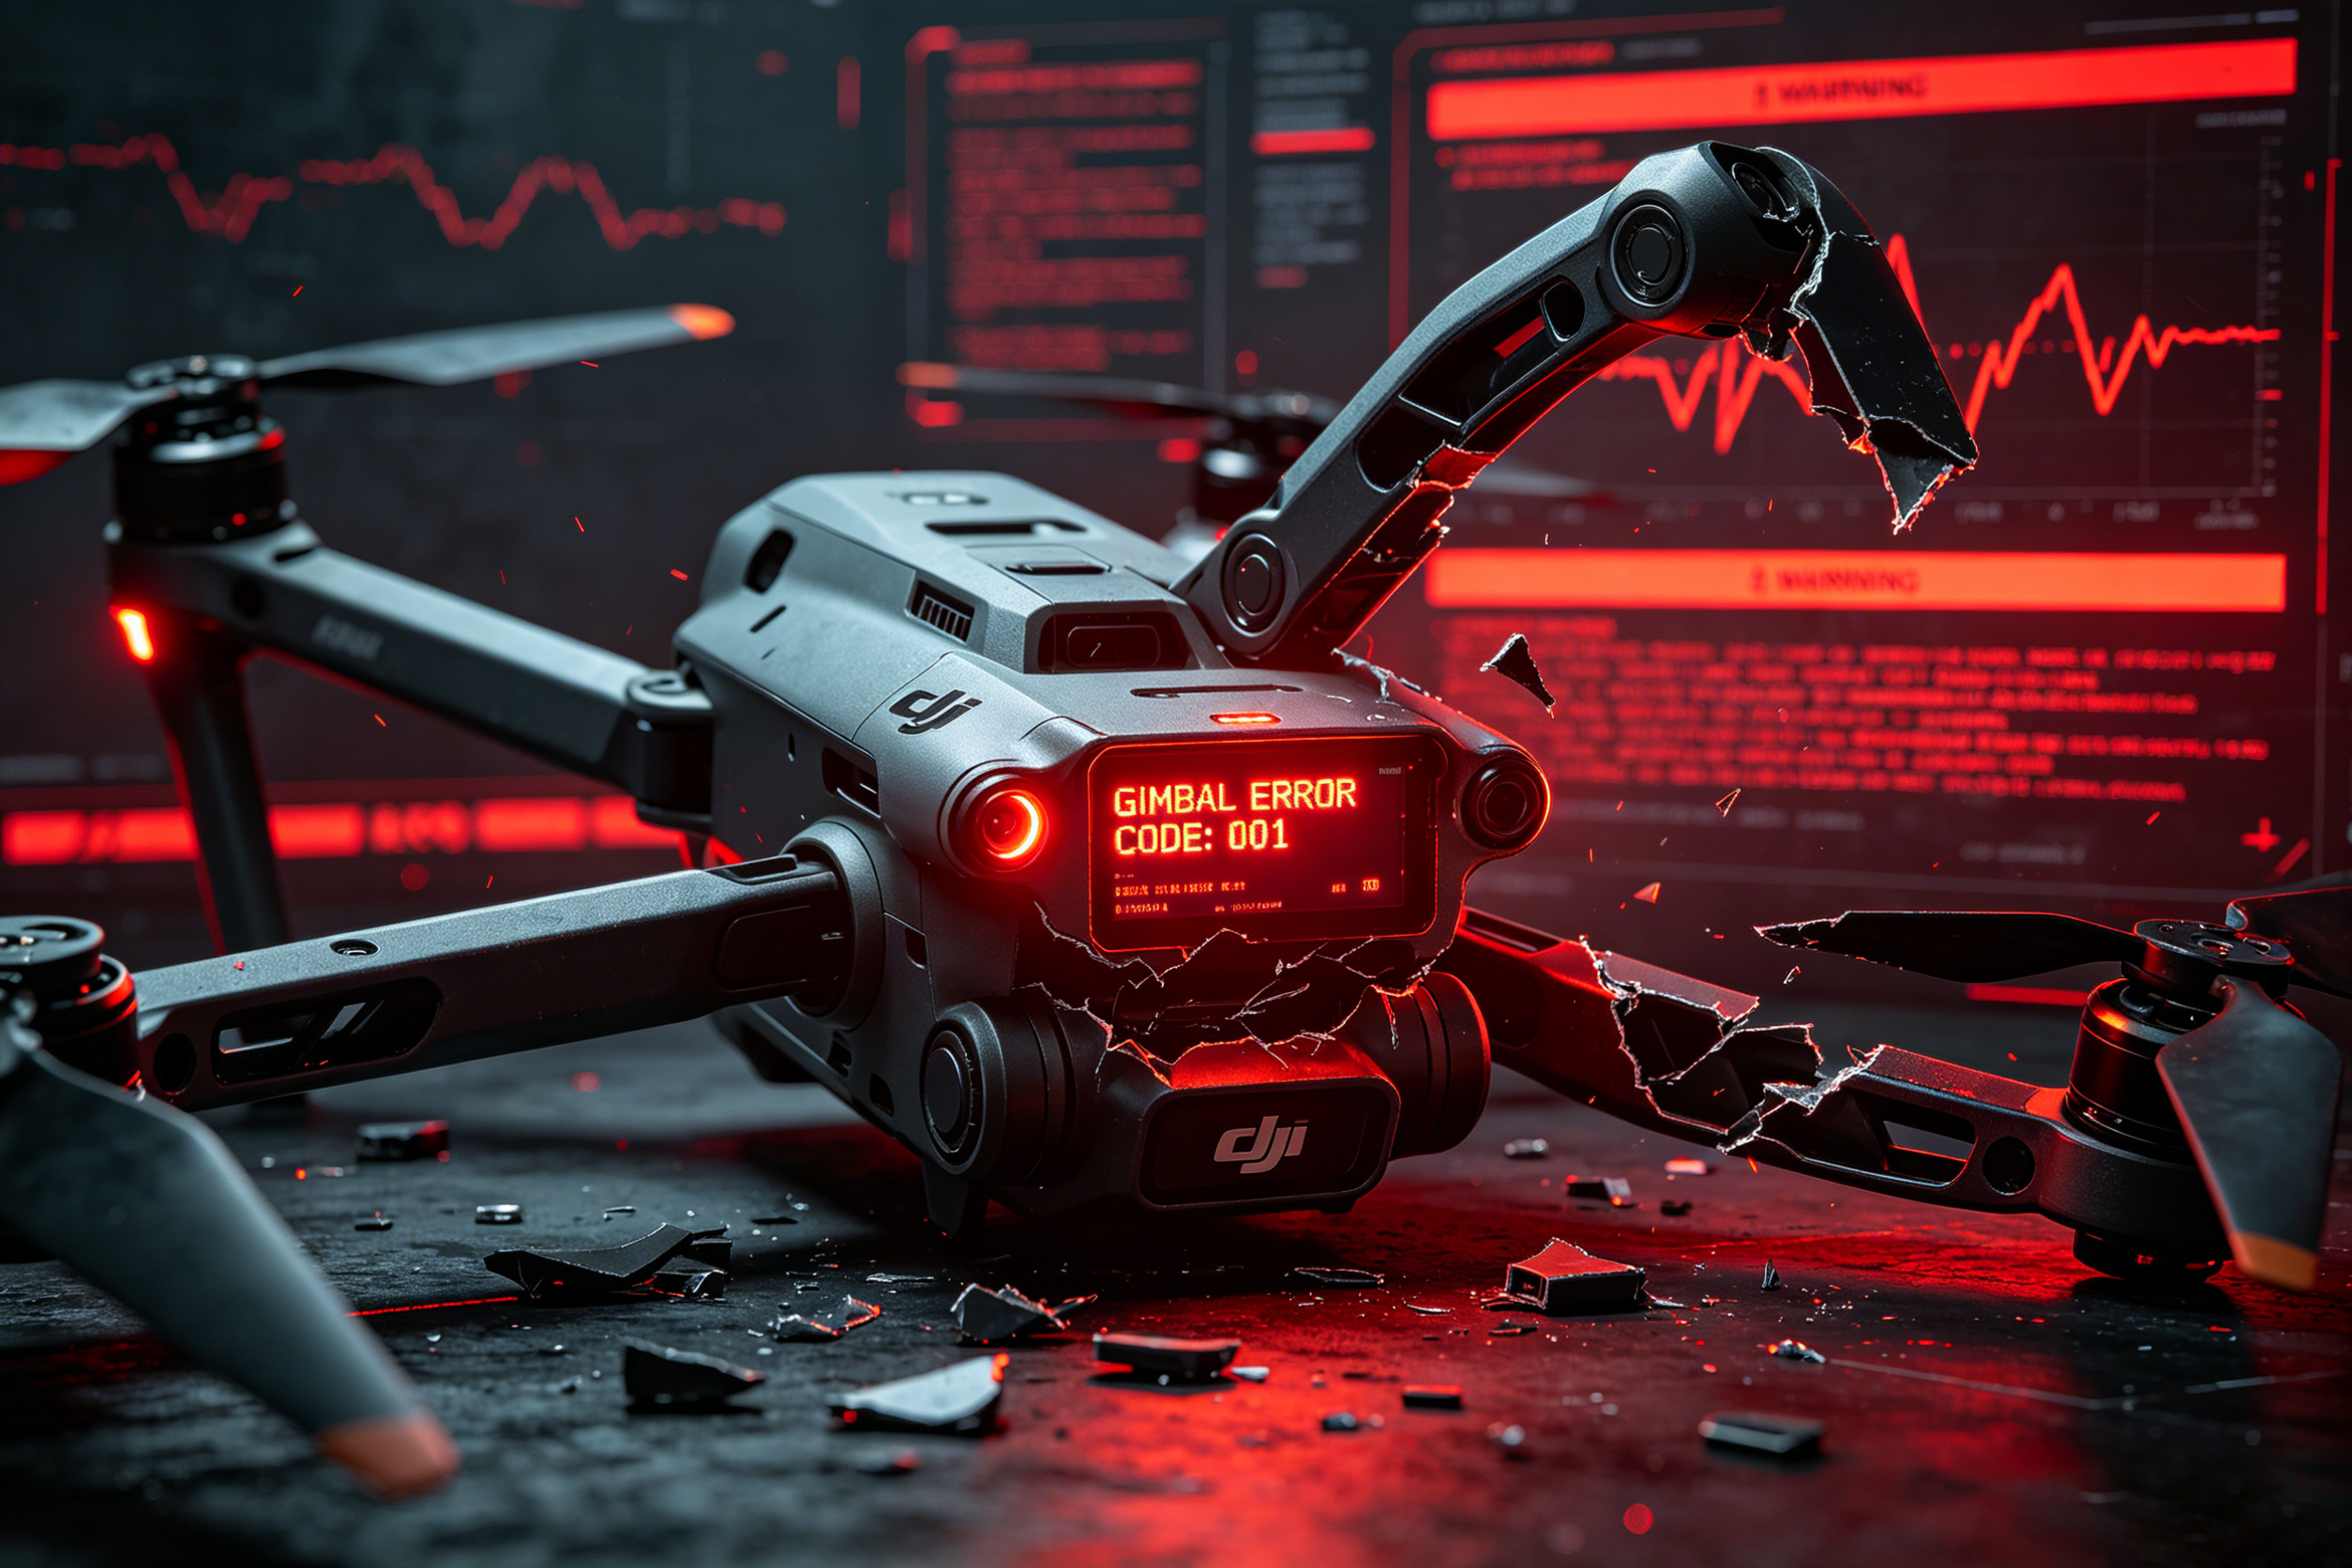
DJI drones are renowned for their industry-leading stabilization systems and professional-grade camera performance. However, the "Gimbal Motor Overload" error remains one of the most frequently reported issues by both hobbyist and commercial drone operators worldwide.
If you've encountered this warning on your DJI aircraft, there's no need to panic. In over 85% of cases, this problem can be resolved with simple troubleshooting steps—without replacing the entire expensive gimbal assembly.
In this comprehensive guide, we'll explain exactly what causes the DJI Gimbal Motor Overload Error, walk you through a systematic diagnostic process, and provide proven repair solutions for both end-users and professional technicians.
What Does DJI Gimbal Motor Overload Actually Mean?
The
Gimbal Motor Overload warning is a protective feature built into all DJI drones. It activates when the flight controller detects that the gimbal motors are unable to move freely or are drawing excessive current to stabilize the camera.
DJI's system continuously monitors the electrical load and movement resistance of all three
gimbal motors (roll, pitch, and yaw). When abnormal resistance or power consumption is detected, it immediately displays an overload warning to prevent permanent motor burnout or damage to the delicate gimbal mechanism.
Related Warning Messages You May See
- Gimbal Motor Overload
- Gimbal Stuck
- Gimbal Obstructed
- Gimbal Initialization Failed
- Gimbal Calibration Error
- Gimbal Motor Abnormal
6 Most Common Causes of DJI Gimbal Motor Overload Error
Identifying the root cause is critical to resolving the issue quickly and avoiding unnecessary repairs.
1. Forgotten Gimbal Lock or Protector (Most Common)
This is the #1 cause of overload errors, especially among new drone users. Before powering on your aircraft, you must remove:
- Gimbal transportation lock
- Camera lens cover
- Gimbal protector/guard
Leaving any of these accessories attached completely restricts gimbal movement and will immediately trigger an overload warning.
2. Foreign Objects Blocking the Gimbal Mechanism
Dust, sand, grass, or small debris can easily become lodged between the gimbal arms and joints during outdoor flights. Even a single grain of sand can significantly increase motor resistance.
- Sand particles in motor bearings
- Broken plastic fragments
- Grass or twigs trapped between arms
- Dirt buildup around moving joints
The thin, flexible ribbon cable carries power, control signals, and sensor data between the drone's main board and the gimbal. A torn, cracked, or pinched cable is one of the most common causes of persistent overload errors after minor crashes.
Signs of a damaged flex cable include:
- Intermittent overload warnings
- Camera shaking during startup
- Repeated calibration failures
- Partial or complete loss of gimbal control
Hard landings, crashes, or even rough handling can slightly bend the roll, pitch, or yaw arms. Even a 1-2 degree misalignment will force the motors to work much harder than normal to maintain stabilization.
Common symptoms of bent arms:
- Camera is noticeably tilted or not level
- Gimbal movement feels uneven or "sticky"
- Excessive vibration in video footage
- Overload warnings only in certain positions
Over time, gimbal motors can wear out due to continuous operation, moisture exposure, or impact damage. Motor bearings are particularly susceptible to wear from dust and sand.
Signs of a failing motor:
- Grinding or buzzing noises during operation
- Motor housing becomes hot to the touch
- Jerky or erratic gimbal movement
- Complete failure to initialize
6. Defective Gimbal Main Control Board
The gimbal control board regulates motor output and runs the stabilization algorithms. A faulty board can cause false overload warnings even when all mechanical components are working properly.
This issue is most common after:
- Water damage or exposure to high humidity
- Electrical surges from faulty batteries
- Severe impact damage
Step-by-Step Troubleshooting Guide (Follow in Order)
Work through these steps systematically to identify and resolve the issue. Start with the simplest, fastest solutions before moving to more complex repairs.
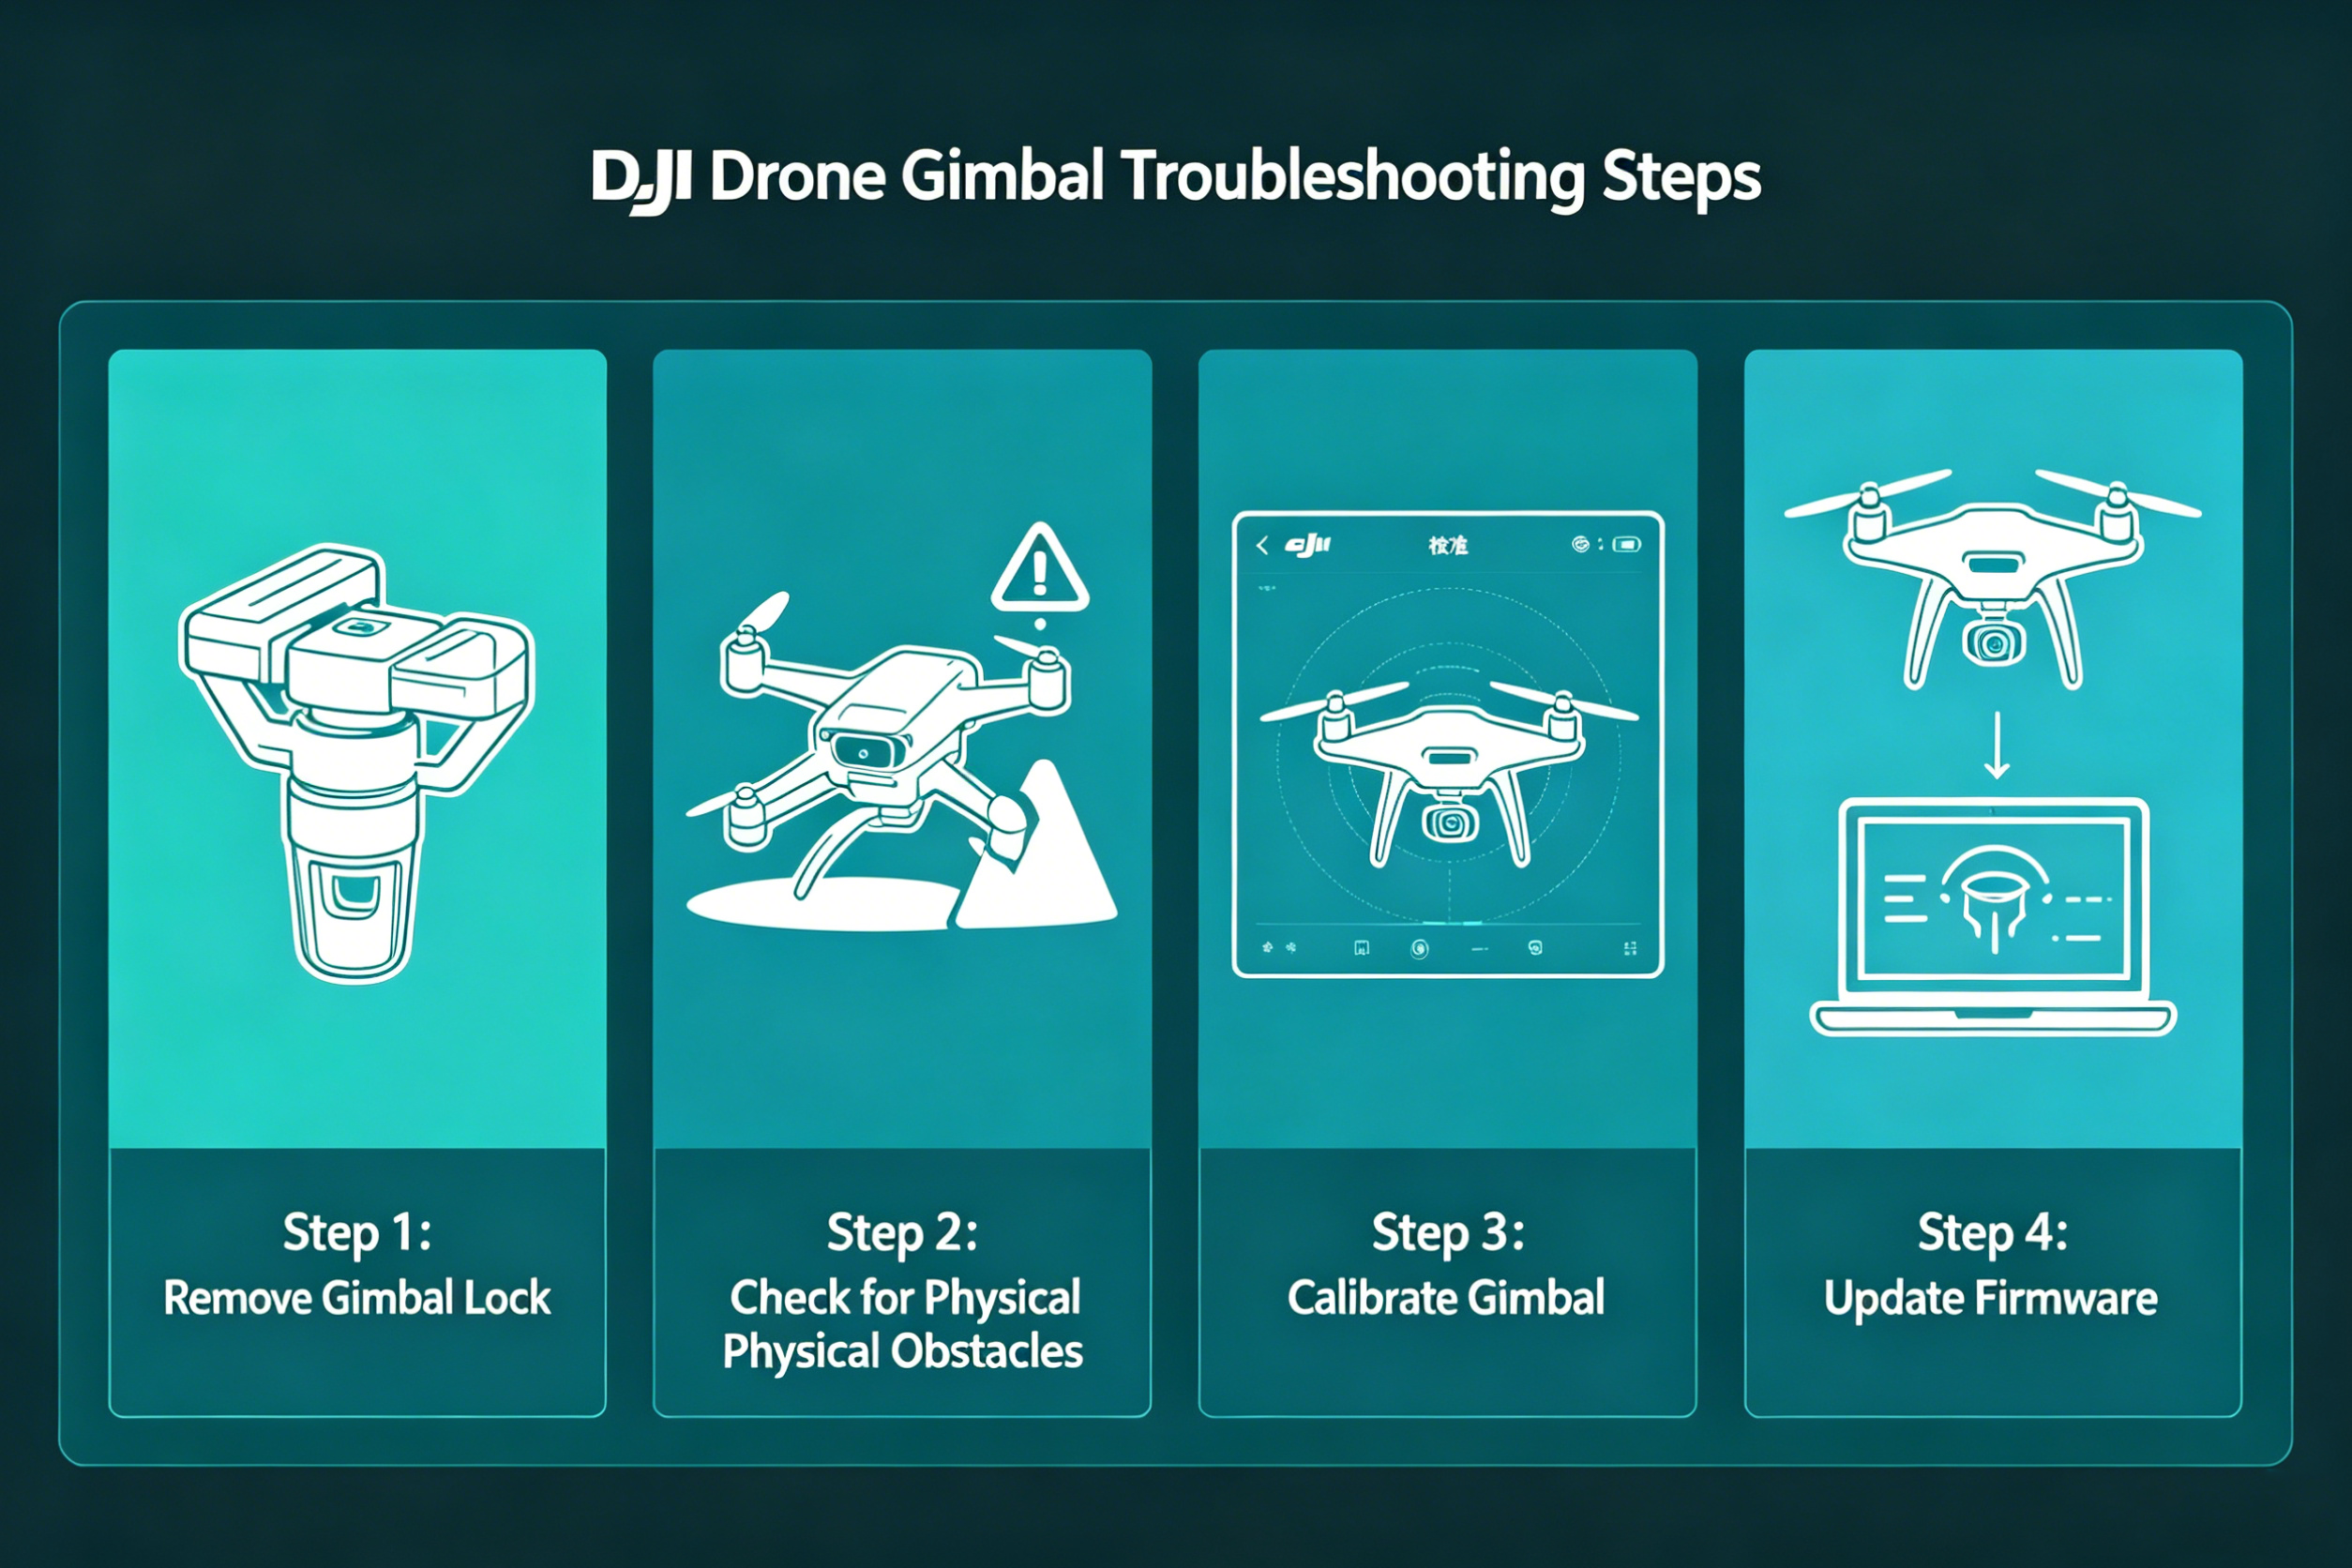
Step 1: Perform a Full Power Cycle
Temporary software glitches are responsible for approximately 10% of all gimbal overload errors.
- Power off the drone completely
- Remove the battery and wait 60 seconds
- Reinstall the battery and power on the aircraft
- Check if the error persists
Step 2: Thoroughly Inspect for Physical Obstructions
- Power off the drone and remove the battery
- Gently move the gimbal by hand through its full range of motion
- Feel for any resistance, grinding, or sticking points
- Use a flashlight to inspect all joints and gaps for debris
- Use compressed air (low pressure) to blow out dust and sand
WARNING: Never force the gimbal beyond its natural range of motion. This can bend the arms or damage the motors.
Step 3: Update All Firmware
Outdated firmware can cause communication issues between the flight controller and gimbal.
- Connect your drone to the DJI Fly app or DJI Assistant 2
- Check for updates to:
- Aircraft firmware
- Battery firmware
- Remote controller firmware
- Install all available updates and restart the drone
Step 4: Perform Complete Gimbal Calibration
- Place the drone on a perfectly flat, level surface
- Open the DJI Fly app and go to Settings > Control > Gimbal
- Run Auto Calibration first and wait for it to complete
- If the error persists, run Horizon Calibration
- Do not touch or move the drone during the calibration process
Step 5: Inspect the Gimbal Ribbon Cable
- Power off the drone and remove the battery
- Carefully remove the upper gimbal cover (if necessary)
- Inspect the entire length of the flex cable for:
- Tears, cracks, or creases
- Loose or corroded connectors
- Pinched or frayed wiring
- If any damage is found, replace the cable immediately
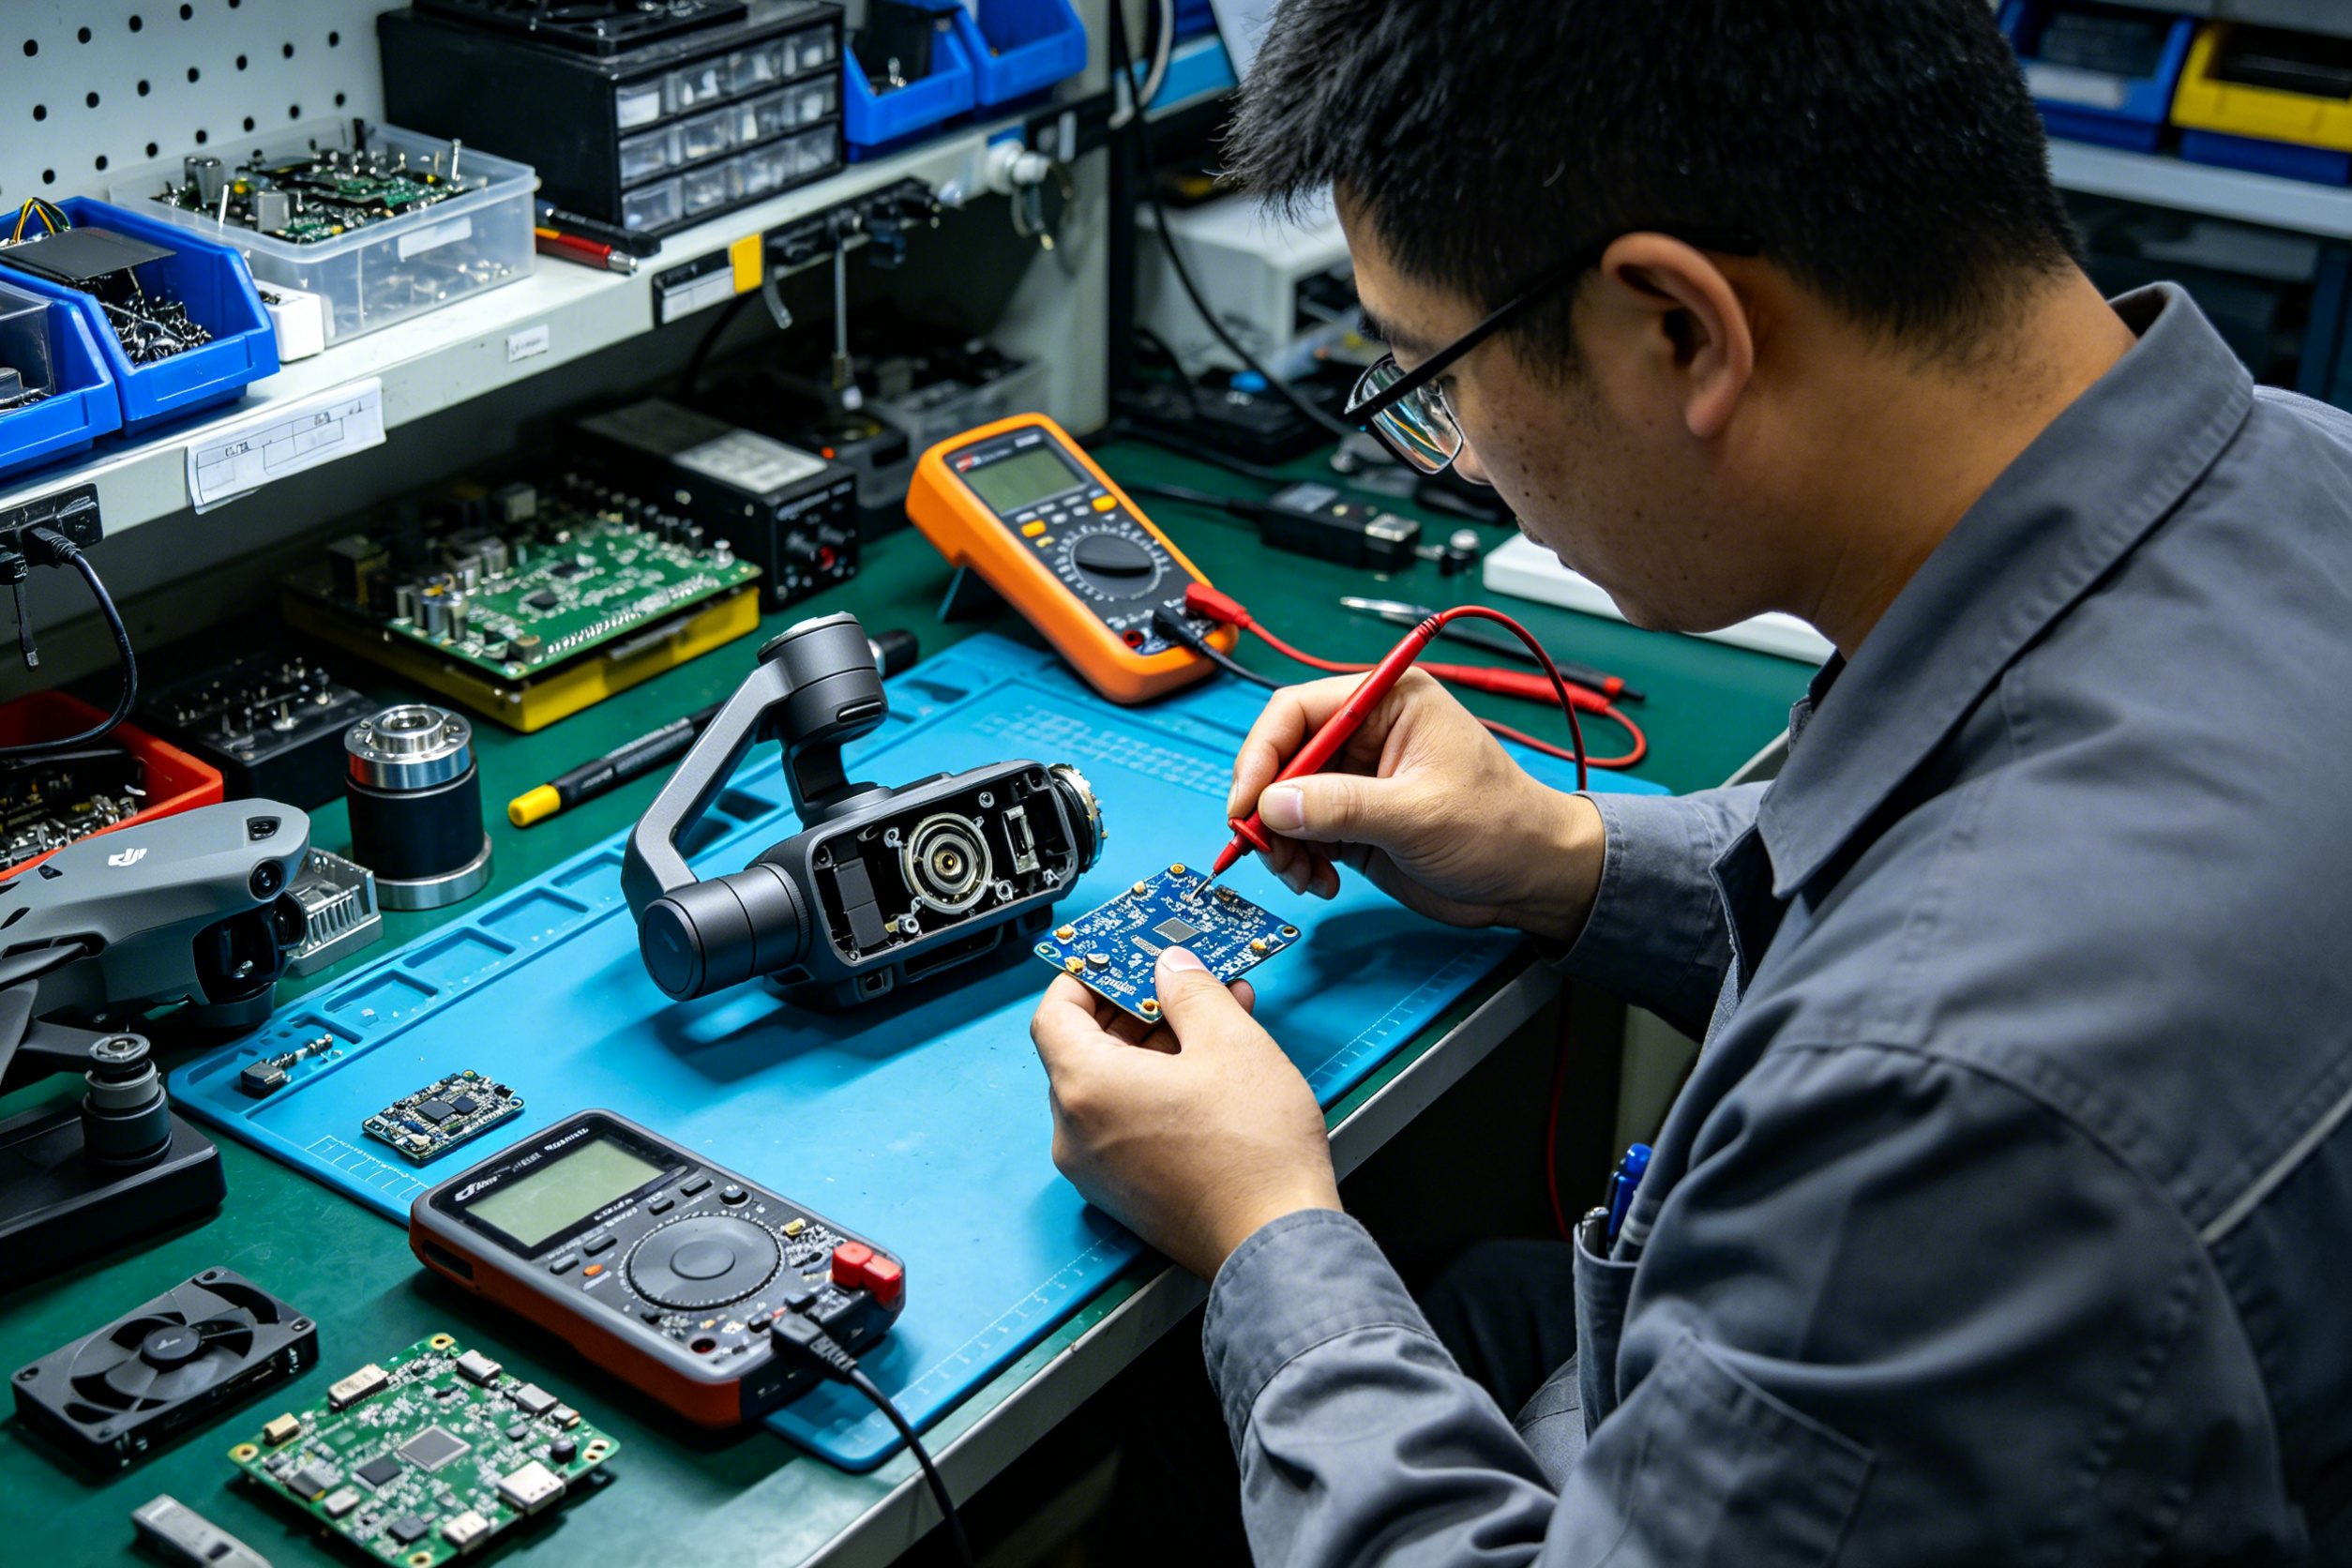
Step 6: Test Individual Gimbal Motors
For advanced users and professional technicians:
- Use a multimeter to test the resistance of each motor
- Compare readings to manufacturer specifications (typically 8-12 ohms for most DJI motors)
- A reading of 0 ohms indicates a short circuit
- An infinite reading indicates an open circuit
- For more accurate testing, use a dedicated DJI gimbal motor test board
How Professional Repair Shops Diagnose Gimbal Issues
Professional drone repair centers follow a standardized diagnostic process to minimize repair time and costs:
- Visual Inspection: Check for crash damage, bent brackets, cable condition, and debris
- Functional Testing: Power on the gimbal and observe movement patterns
- Motor Testing: Use specialized equipment to test each motor's resistance and response
- Signal Analysis: Verify communication signals between the main board and gimbal
- Component Replacement: Replace only the failed part (motor, cable, or board) rather than the entire assembly
This targeted approach reduces repair costs by up to 70% compared to full gimbal replacement.
Preventing Future Gimbal Motor Overload Errors
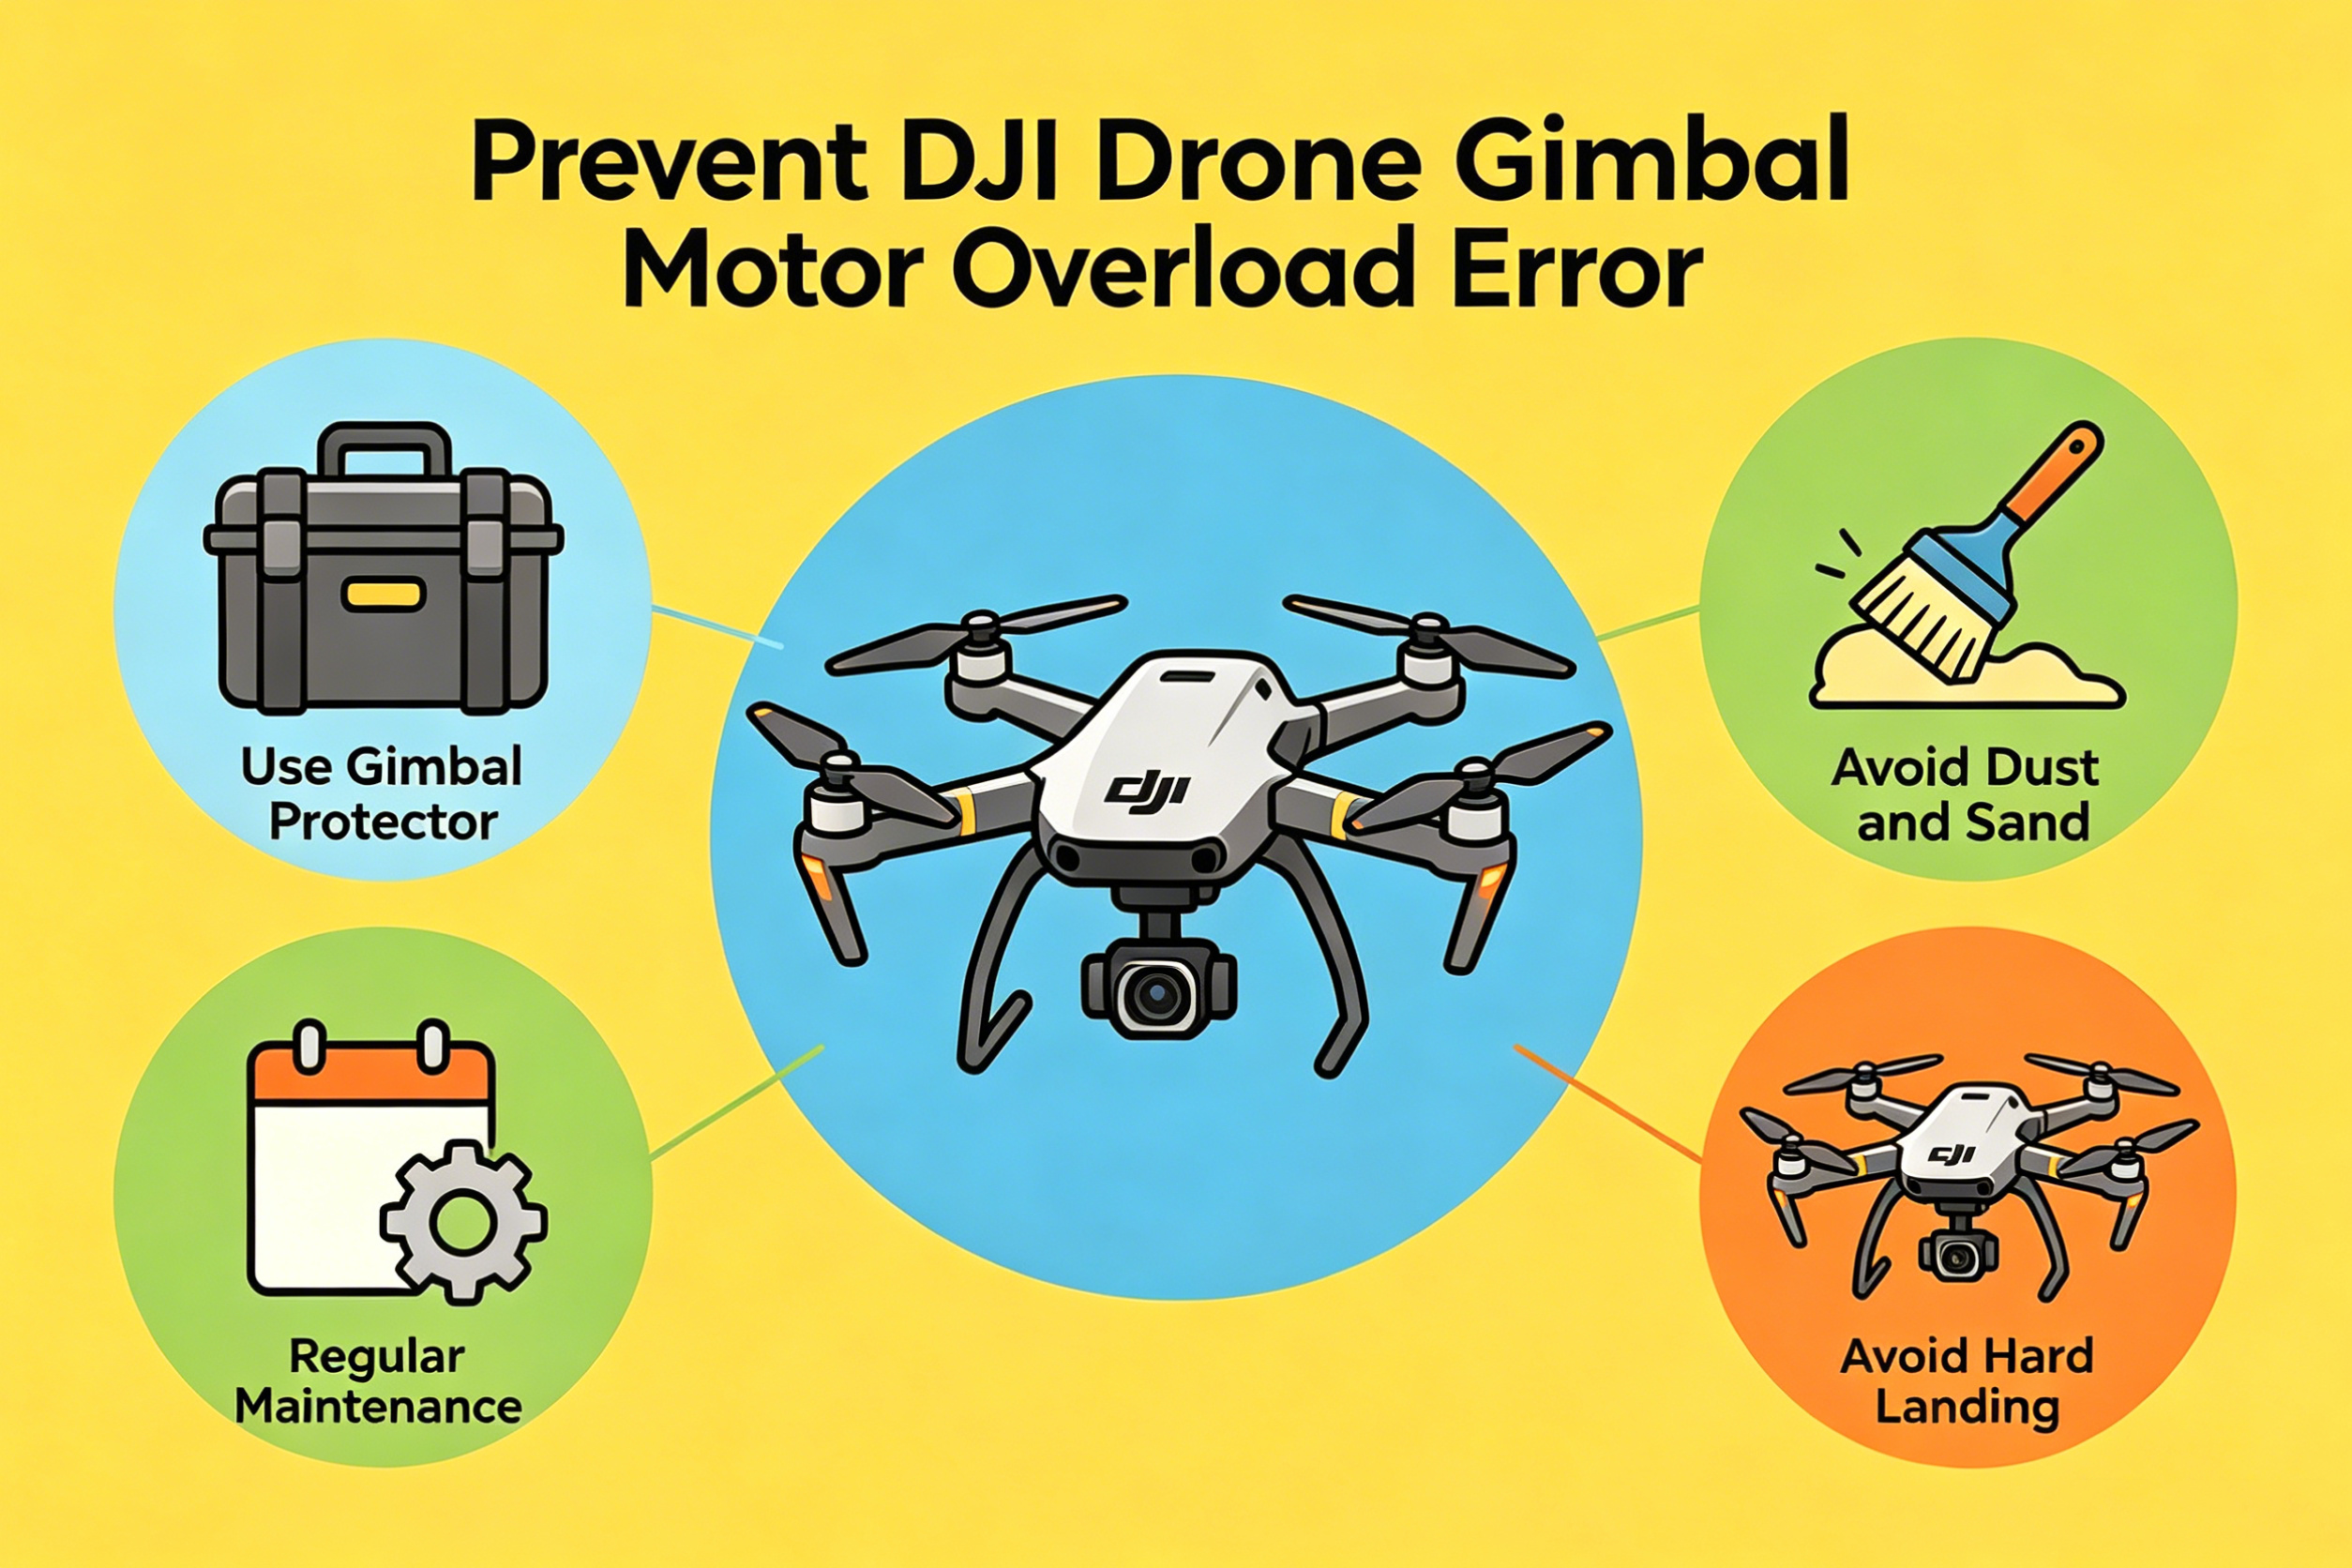
Follow these best practices to extend the lifespan of your DJI gimbal:
✅
Always use a gimbal protector during transport to prevent shock and vibration damage
✅
Avoid flying in dusty or sandy environments whenever possible
✅
Clean the gimbal after every flight with a soft brush and low-pressure compressed air
✅
Store your drone in a protective case in a cool, dry place
✅
Inspect the gimbal regularly for loose screws, cable wear, or signs of damage
✅
Practice smooth takeoffs and landings to minimize impact stress
✅
Never move the drone while the gimbal is initializing
When Should You Replace the Gimbal Motor?
Motor replacement is necessary if:
- All troubleshooting steps have been completed and the error persists
- The motor makes grinding or buzzing noises
- The motor housing becomes excessively hot during operation
- The gimbal shakes violently on startup
- Multimeter testing confirms a short or open circuit
- Physical damage to the motor is visible
Important Note: Replacing only the faulty motor is almost always more cost-effective than replacing the entire gimbal assembly. For most DJI models, a single motor costs $20-$50, compared to $200-$500 for a complete gimbal.
Professional DJI Gimbal Repair Solutions
For repair technicians and maintenance centers, investing in the right tools is essential for efficient, accurate repairs:
- DJI gimbal motor test boards
- Flex cable replacement kits
- Precision screwdriver sets
- ESD-safe workstations
- High-quality OEM replacement parts
Using genuine DJI parts and professional diagnostic tools ensures that repairs are long-lasting and meet factory performance standards.
Conclusion
The DJI Gimbal Motor Overload Error is almost always caused by one of six issues: forgotten gimbal locks, physical obstructions, damaged flex cables, bent arms, worn motors, or faulty control boards. By following the systematic troubleshooting process outlined in this guide, most problems can be resolved in less than 30 minutes.
For drone operators, regular maintenance and careful handling are the best ways to prevent gimbal issues. For professional repair technicians, investing in specialized diagnostic tools and high-quality replacement parts will improve repair efficiency, reduce costs, and increase customer satisfaction.
If you've tried all the steps in this guide and the error persists, we recommend contacting an authorized DJI service center for professional diagnosis and repair.


